All posts in studio notes

Fort America, Step-by-Step

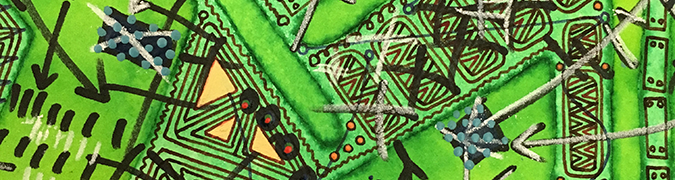
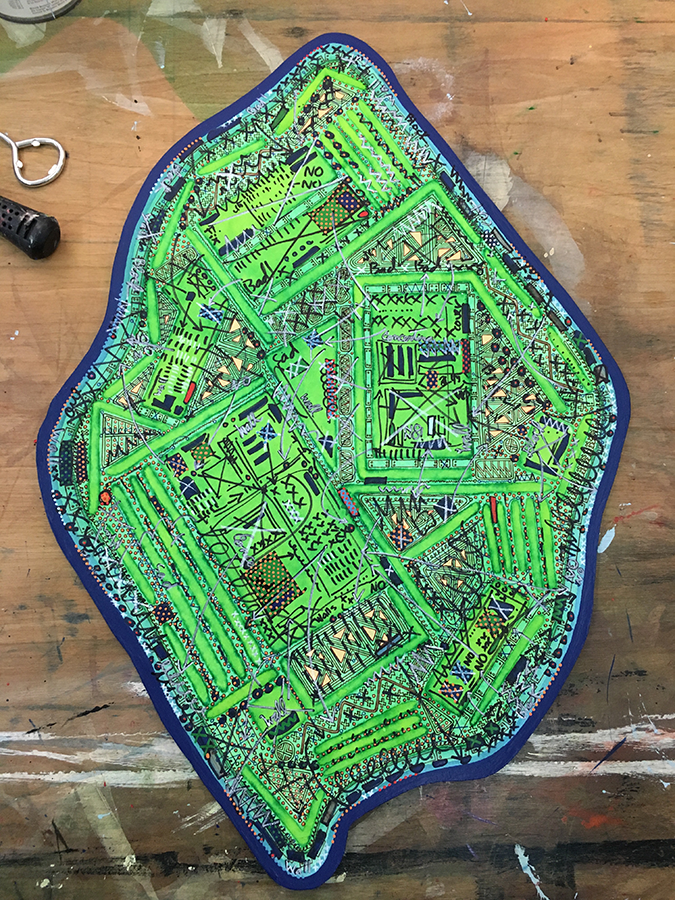
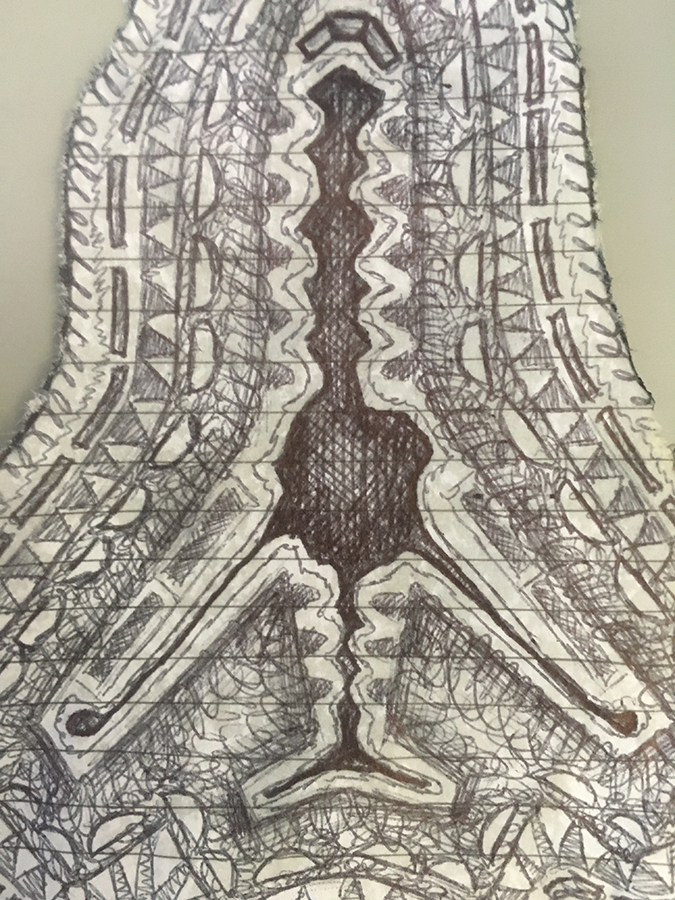
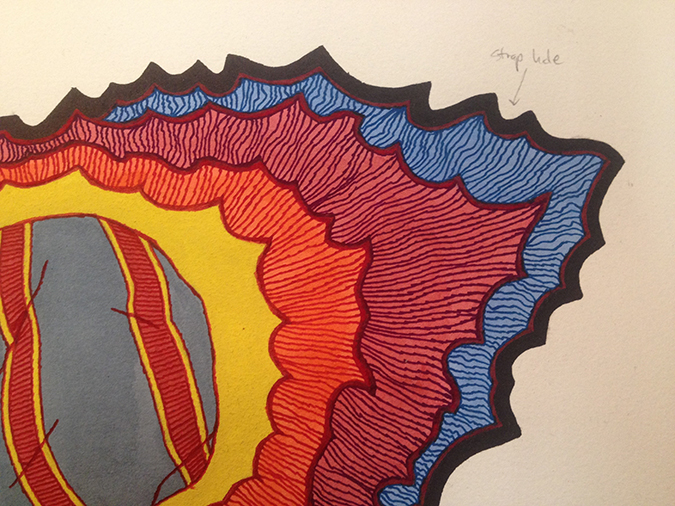
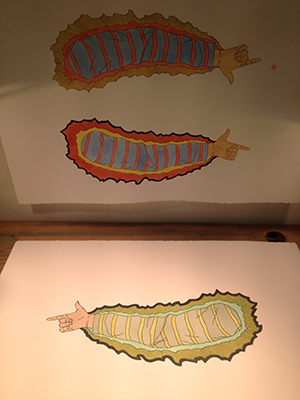
Twelve years ago I made a diagrammatic-esque drawing called “An Island Unto Itself” that represented the USA as a small-minded, fortified and paranoid island during the years right after the 9/11 terrorist attacks when the country was in a jingoistic and nationalistic ferver under George W. Bush (click on images to enlarge):

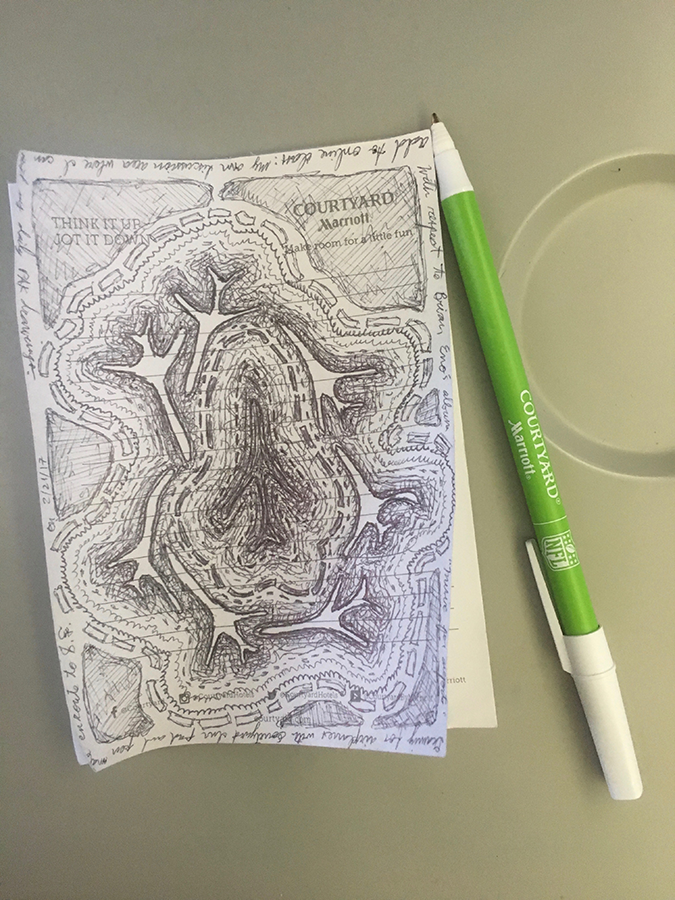
Recently, with a new jingoistic and nationalistic era underway with Trump (not to mention mean-spirited, racist, bigoted and misogynist), I remembered the old drawing and felt the need to make a quick, angry version in my sketchbook to match my current mood:

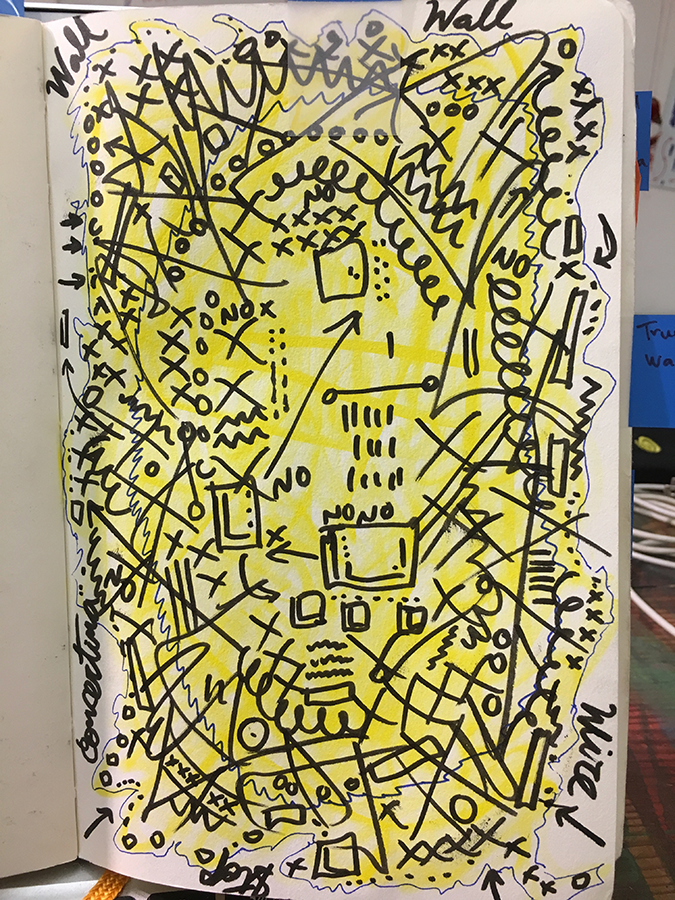
This got me thinking about political art and what artists can do during times of oppression, regression and extreme political stress. Normally I don’t consider myself a political artist, but I’ve been feeling the need to do something in response to the disturbing zeitgeist of Trump’s America. Among other things, I decided I needed to make an updated version of that old drawing. Below are the steps I took:
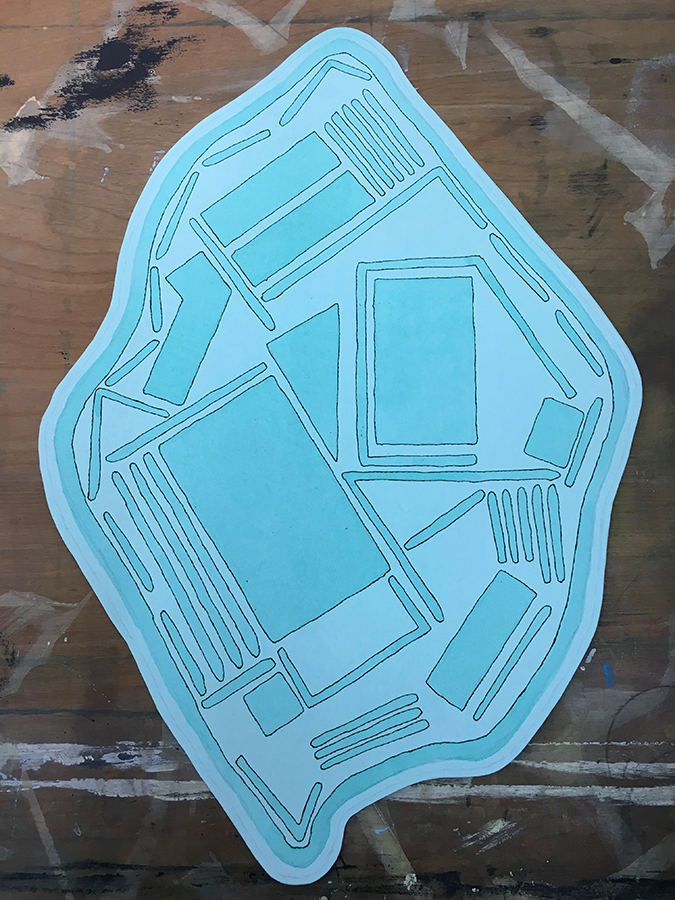
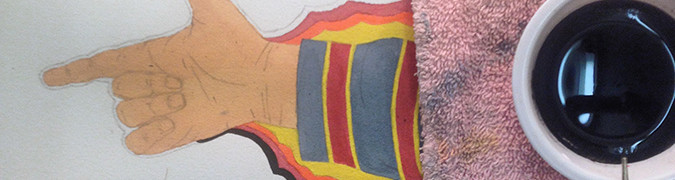
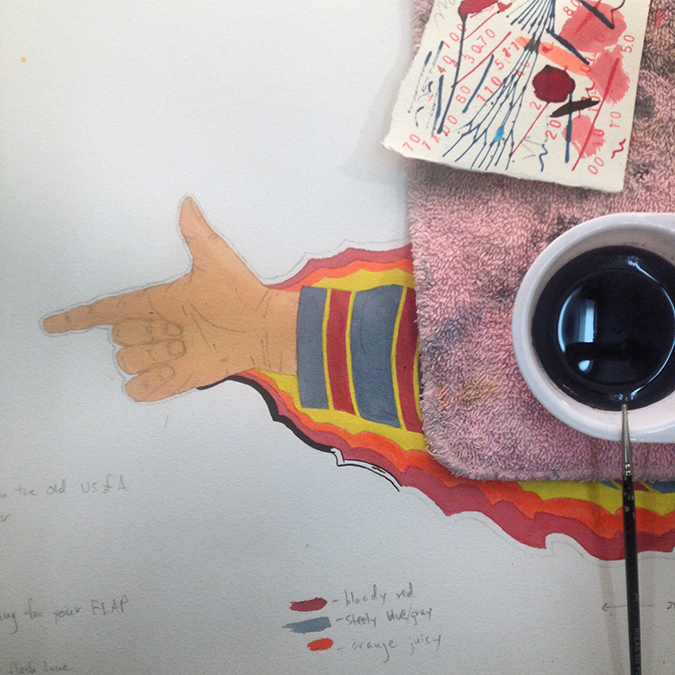
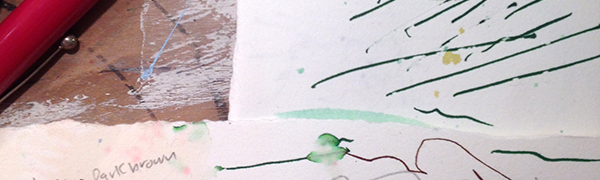
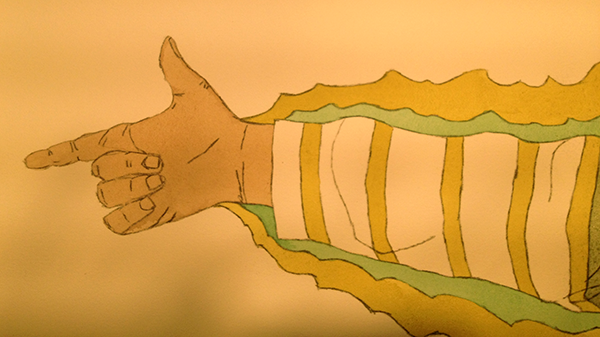
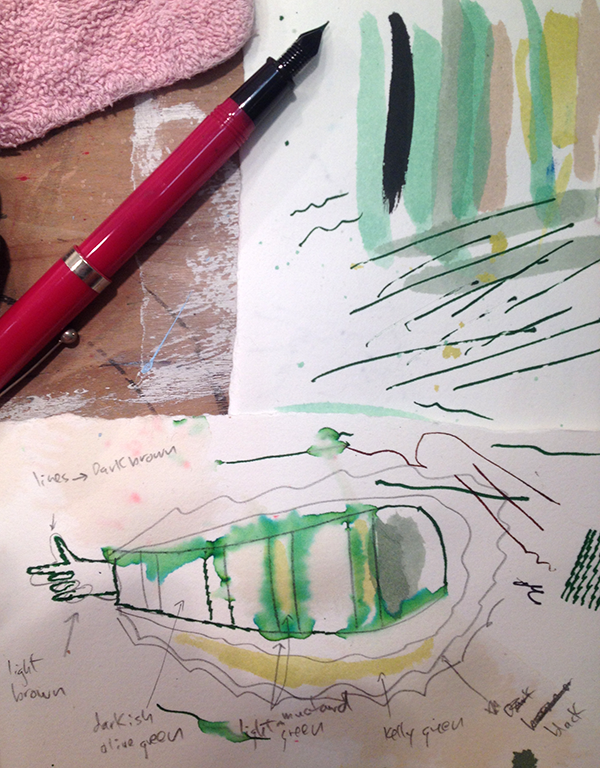
Step 1:

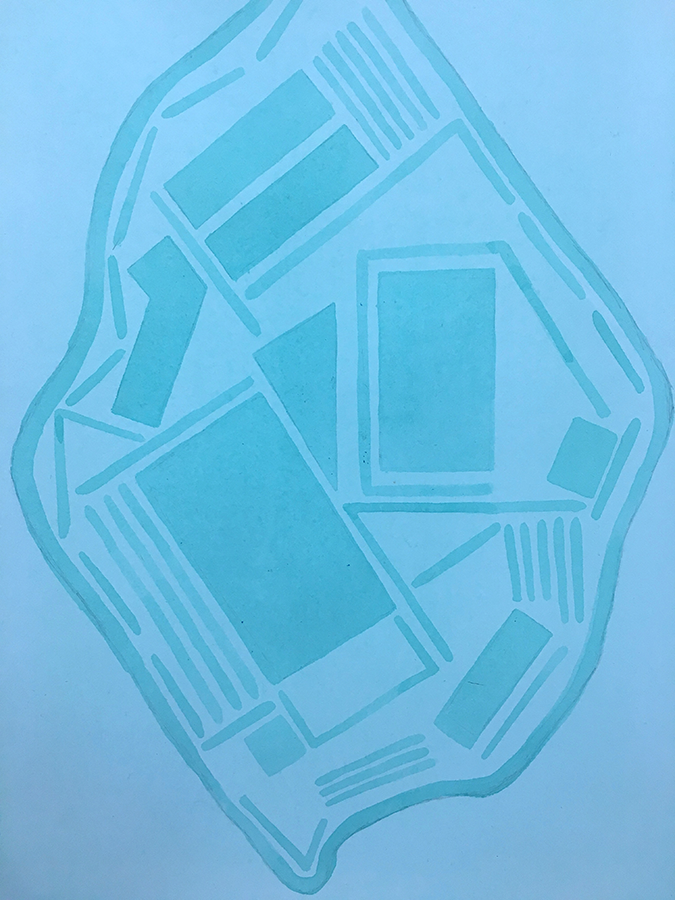
I put down acrylic washes to delineate the basic structure. At this point it looks and feels very light and “watery.”
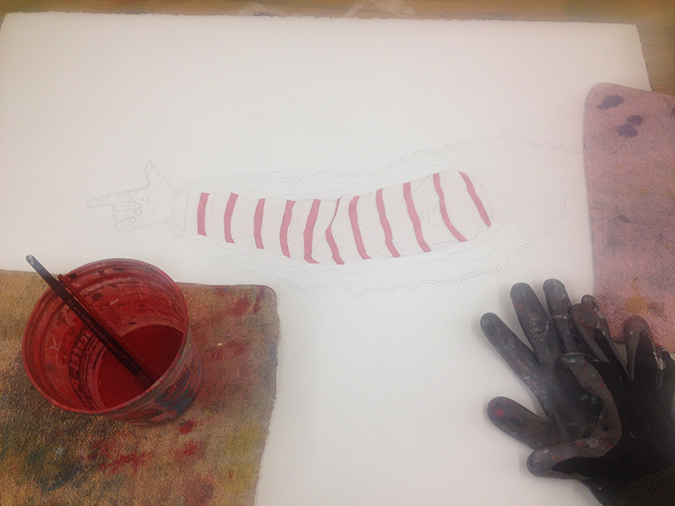
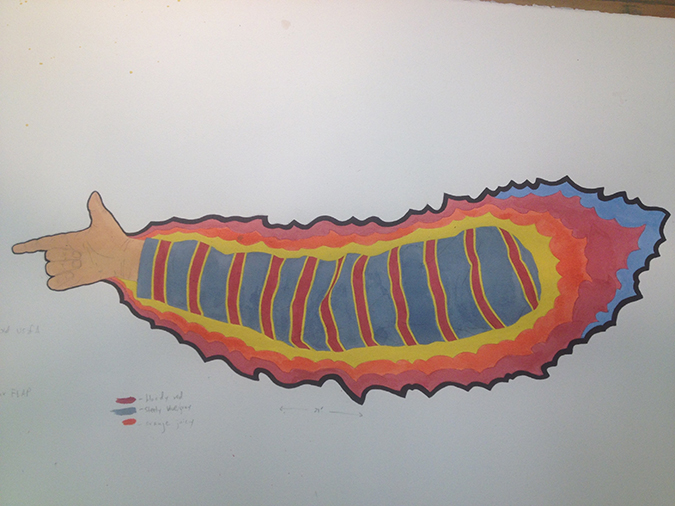
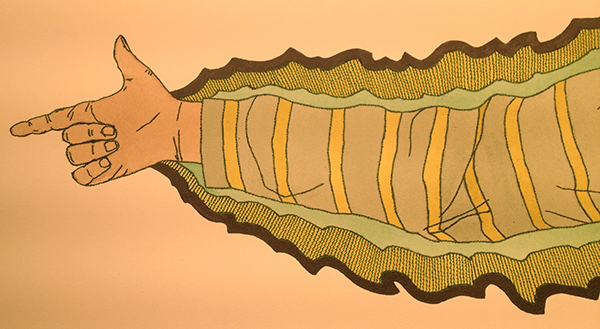
Step 2:

I trimmed/shaped the paper and outlined sections with a water-based fountain pen.
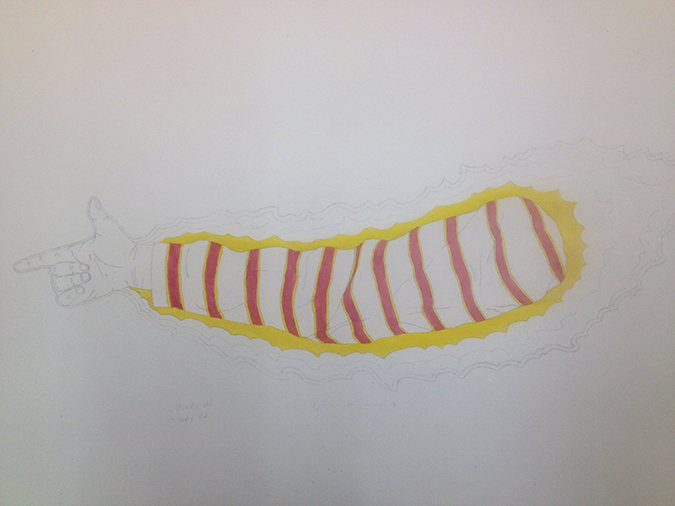
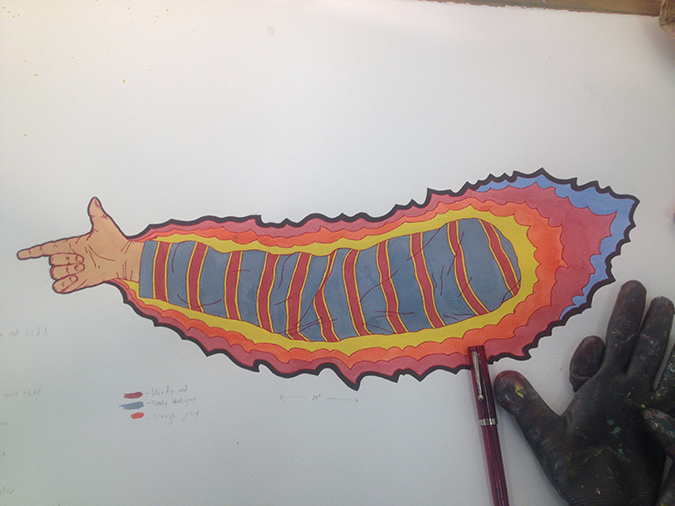
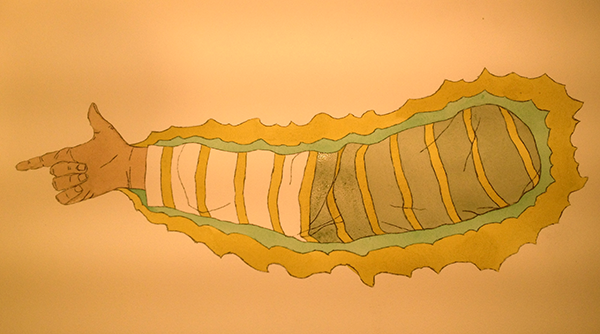
Step 3:

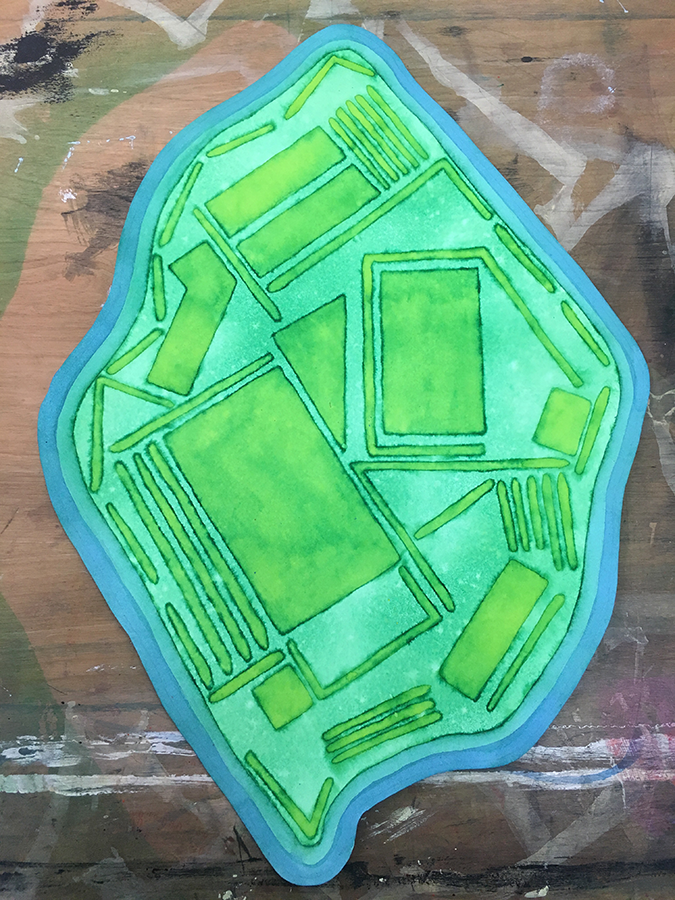
I needed a little chaos, as it was looking a tad tame, so I spritzed it with water (which made the pen lines run) and added some yellow-green washes to give a sense of vegetation.
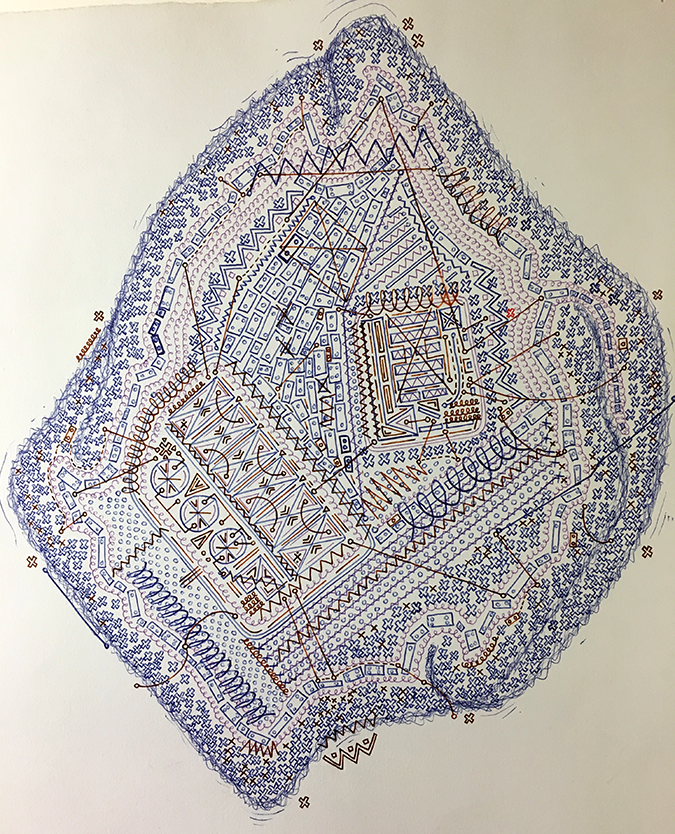
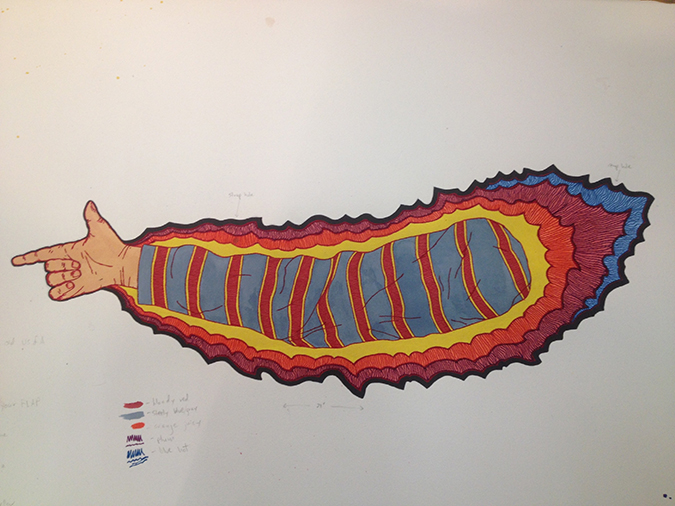
Step 4:


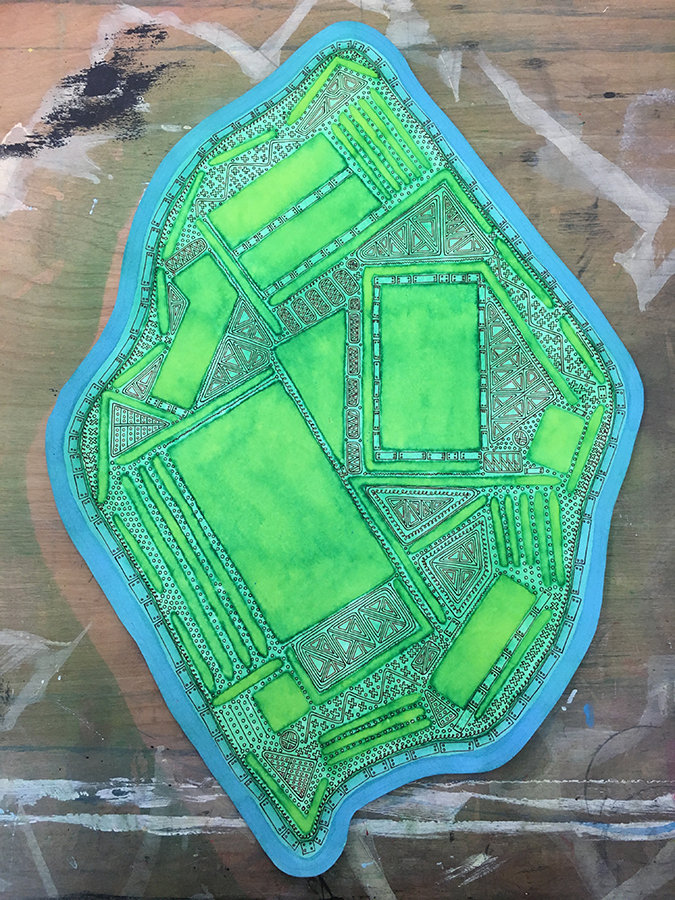
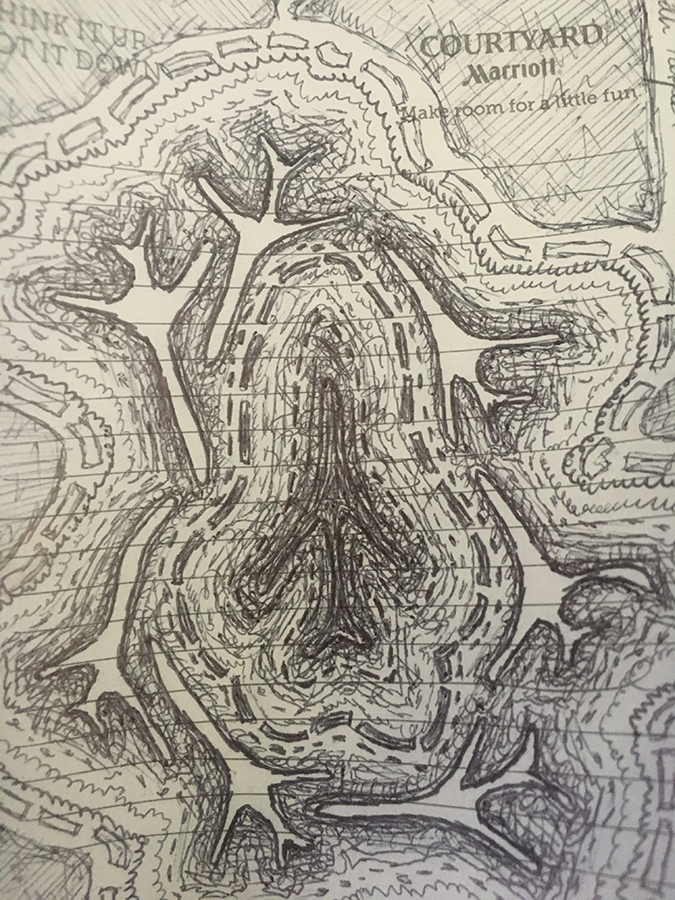
Then it was time to build the fortifications, ramparts and walls, not to mention adding barbed wire, land mines and other militaristic details using fountain pen. As I drew these I was attempting to embody and channel the fear and anger of the people who support the notion of building a wall along the border with Mexico.
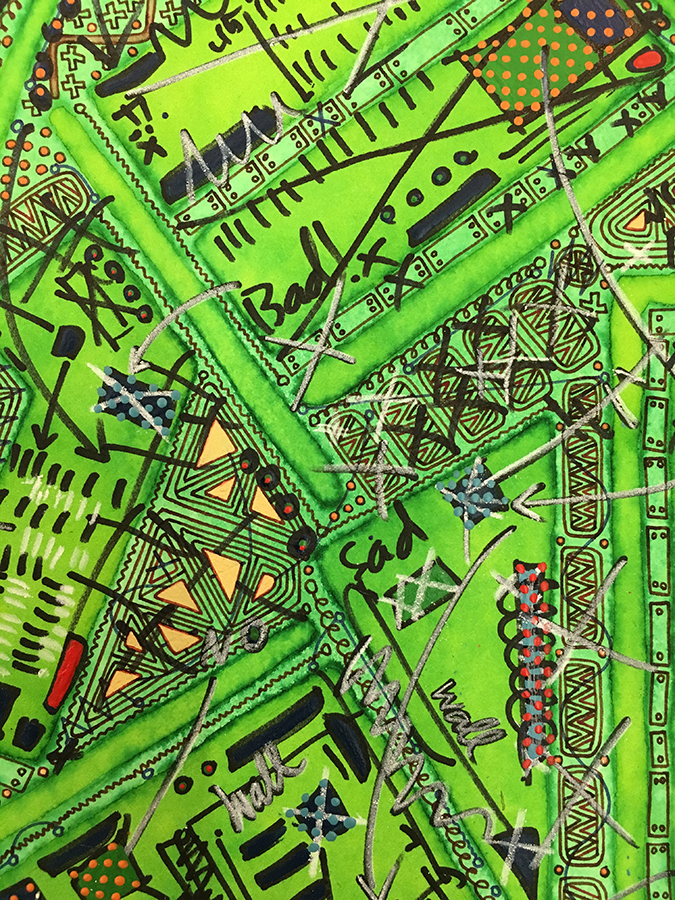
Step 5:

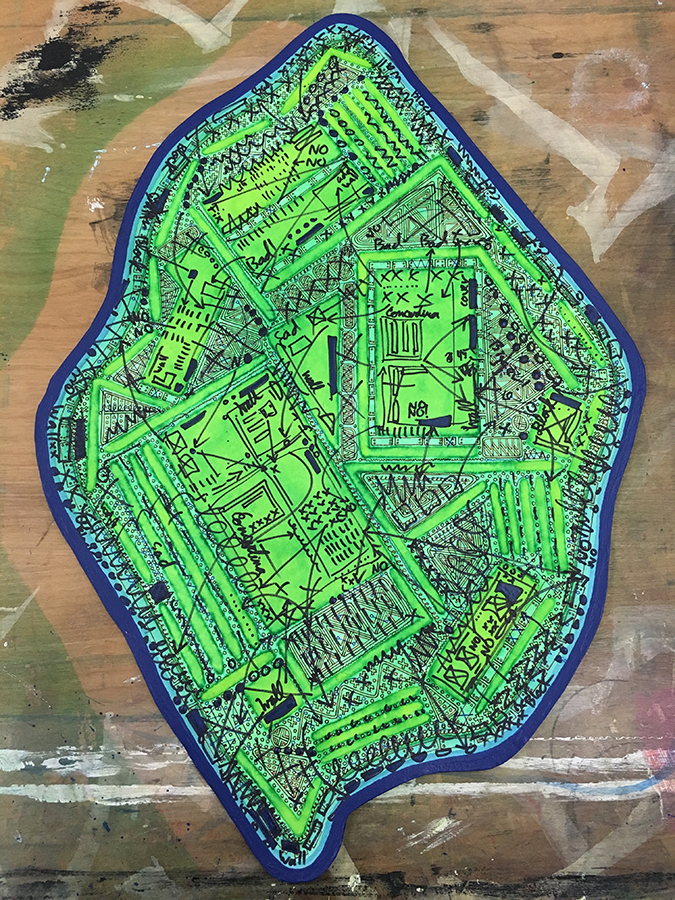
Next I attacked the piece with a Sharpie pen using quick, aggressive critical marks and symbols a la an angry and excessively critical athletic coach making diagrams for plays and drills. While I was doing this I imagined Trump sitting at his desk in the Oval Office after his minions have handed him a map of the vast, rich and diverse resources and communities that the country contains for his judgement and approval (or antagonism). His entitled response, of course, is to grab a pen and stab, attack, critique, cut and judge with ruthless and gleeful abandon.

Step 6:


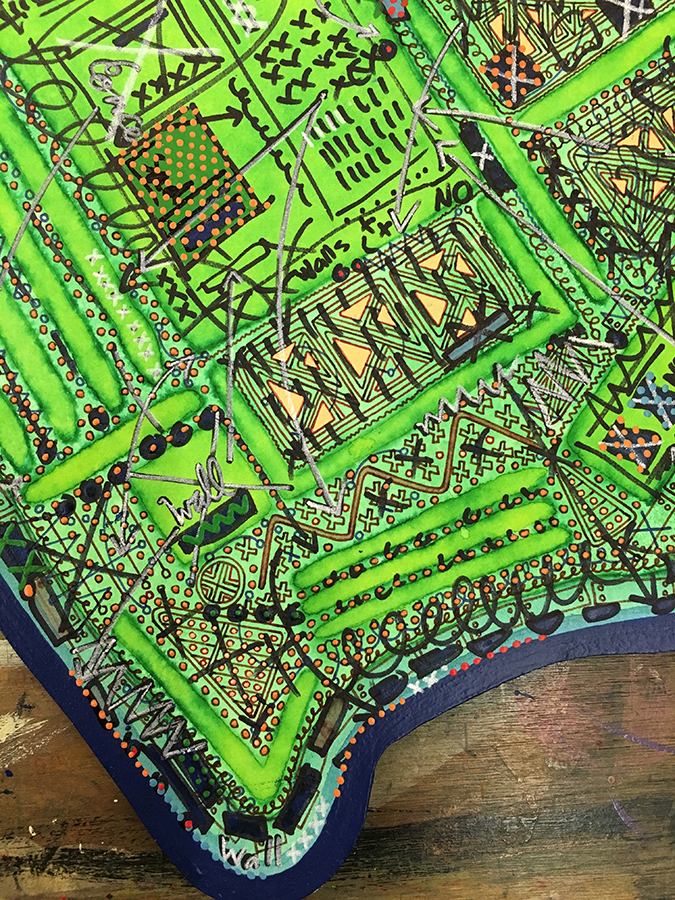
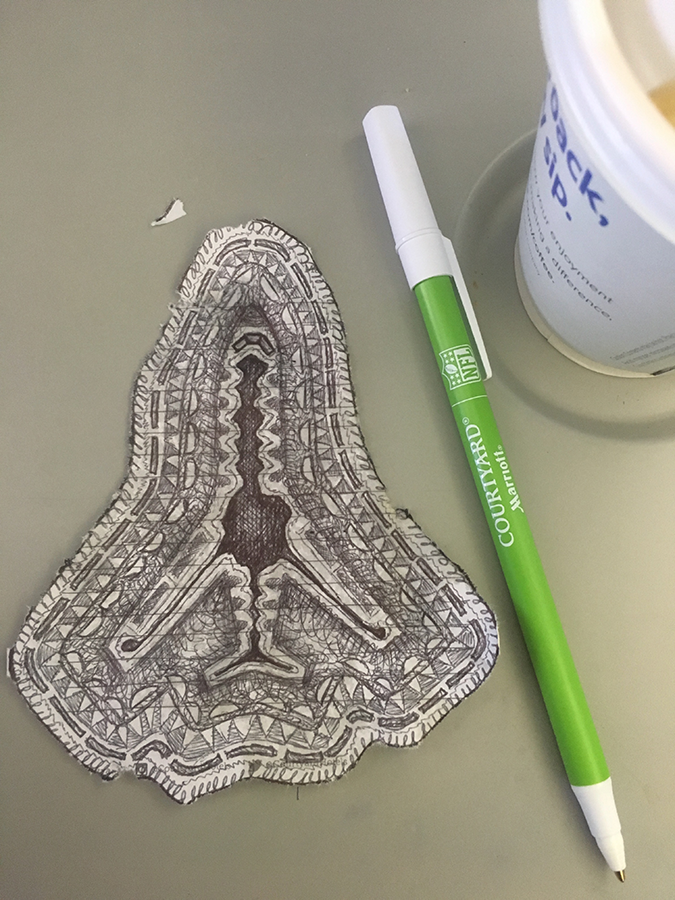
Finally, using acrylic paint and white pencil, I added new layers around, over and between the “critical” Sharpie marks and the underlying fountain pen details. These layers and marks partly represent the resistance to Trump’s attacks, but they also attempt to convey (obviously in an abstract/symbolic manner) a sense of the extremely complex, nuanced and ongoing nature of the intense political, legal and moral battles and struggles of this moment.

Drawings for Airplanes Made on an Airplane

When I was visiting my sister down in San Diego we stayed for a night in a Marriott hotel, where I discovered a Marriott-branded pad and ballpoint pen provided for us in the room. I know many hotels do this kind of thing, but for some reason these simple objects felt like surprise gifts or tools delivered to me personally to play with from the corporate gods:

I enjoy the challenge of working within constraints that are chosen by some outside force or system not under my control, so I happily put aside my usual sketchpad and pens/pencils and took up this little “found” hotel art kit. A few days later, as I was walking through the San Diego airport something in the environment reminded of the seminal ambient album “Music for Airports” by Brian Eno. Once I was on the plane I decided I needed to get out my hotel art kit and make some “Drawings for Airplanes,” partly as an homage to Brian Eno, and partly as a talisman to insure safe passage through the air (I figured it couldn’t hurt to flatter the plane with honorary drawings).

Number one (on the airplane folding tray table):


Number two (also on the airplane folding tray table, but with cup of coffee):


Bigger, Longer, Bolder, Hotter — Fiery Arm #4!

Working on Fiery Arms #4 (Bigger=compensation?) in the studio. See the progression:

(Click on image to enlarge)


FA4 studio1 FA4 studio2 FA4 studio3 FA4 studio4 FA4 studio5 FA4 studio6 FA4 studio7 FA4 studio8 FA4 studio9 FA4 studio10 FA4 studio11

Laser Cutting Burns

Laser cutting 1/2″ plywood for “Fiery Arm Sub-Prop” sculptures at Pagoda Arts in SF:


 Lasercut 1 Lasercut 5 Lasercut 4 Lasercut 3 Lasercut 2 Lasercut 6

Camo-Color Fiery Arm in progress…

In-progress studio shots of the new Camo-Color Fiery Arm drawing (click to enlarge):

FA-Camo-prog1

FA-Camo-prog2

FA-Camo-prog3

FA-Camo-prog5

FA-Camo-prog6  FA-Camo-prog4

FLAP your arms!

The Fiery League of Arms Partnership (FLAP) is finally coming together! Coming soon (April/May) to Kickstarter.com…

Fiery Arm Production

Fiery Arm Props

Dissection of a Drawing

Defunct-Dissection2Steps:

1) Create drawing called Defunct Artifact #5 using ink on paper.

2) Leave on edge of desk, near walkway and microwave.

3) Studiomate will accidentally spill coffee on drawing.

4) Take drawing home and tack on the wall above the toilet and next to shower for a few months. Wait for the drawing to get messed up even more (2 small boys frolicking in bathroom helps).

5) Bring drawing back to studio and trace it.

6) Transfer trace image to same size/type paper as original drawing.

7) Cut out trace image and take the pieces surrounding image (like jigsaw puzzle pieces) and carefully glue them onto original messed up drawing around contours of image (the first photo with knife demonstrates the results of this step).

Defunct-Dissection3

8) Take knife and cut out parts of image that were smeared by coffee/bathroom frolicking. At this point all coffee stains and smear marks should be gone and you are left with a collage-drawing with holes in it (click on any image to see full size).

Defunct-Dissection  Defunct-Dissection4

9) Take pictures with iPhone app called TurboScan and post to blawg with a list of steps taken thus far.

10) Write in blawg that you will update later with next steps for finishing drawing.

Update #1:

Defunct-Dissection5a

11) Stain sheet of blank paper a royal blue, then cut and paste behind holes.

Update #2:

Defunct-Dissection6

12) Stain sheet of blank paper a light, baby blue and trace on original image using tracing paper from step #6.

13) Just like step #7, cut out trace image on baby blue paper and take the pieces surrounding image and glue them onto original messed up drawing around contours of central image.

14) Shape edges of paper to fit contours of glued pieces and glue small pieces of baby blue paper onto baby blue areas where the color was damaged from gluing in last step.

15) Cut out a few last spots and put royal blue underneath. Put layers of matte medium on back to seal pieces.

16) Write title and sign on back. Pin up on wall and observe. Done.