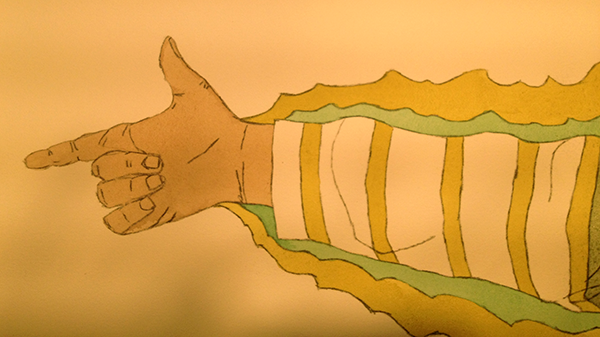
Working on Fiery Arms #4 (Bigger=compensation?) in the studio. See the progression:
(Click on image to enlarge)
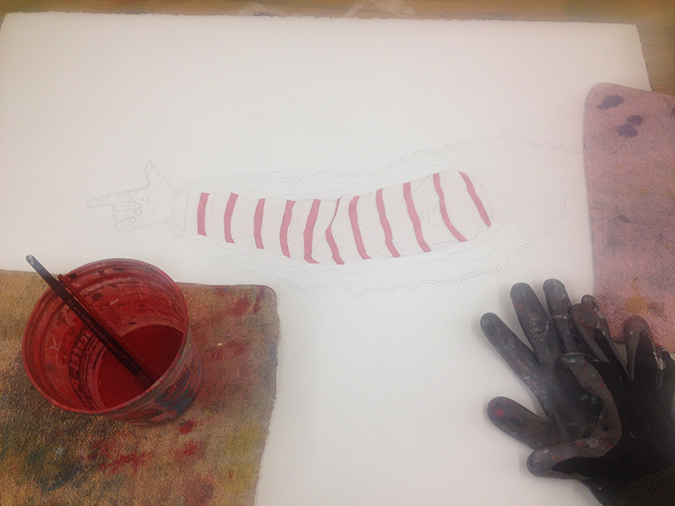
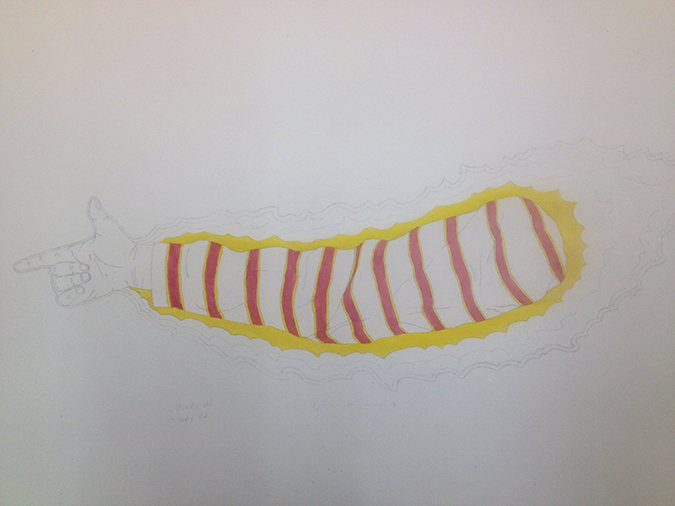


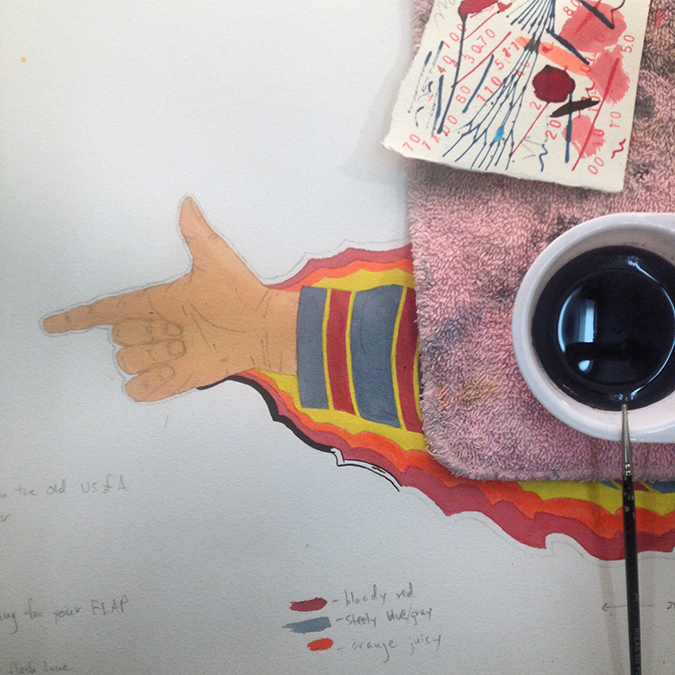
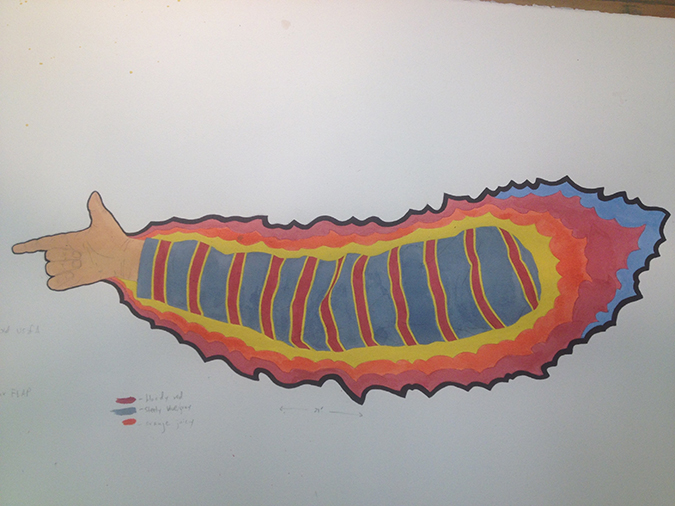
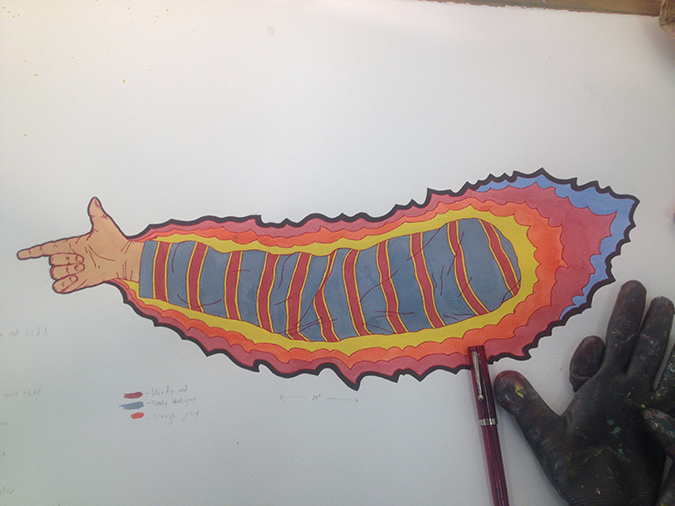

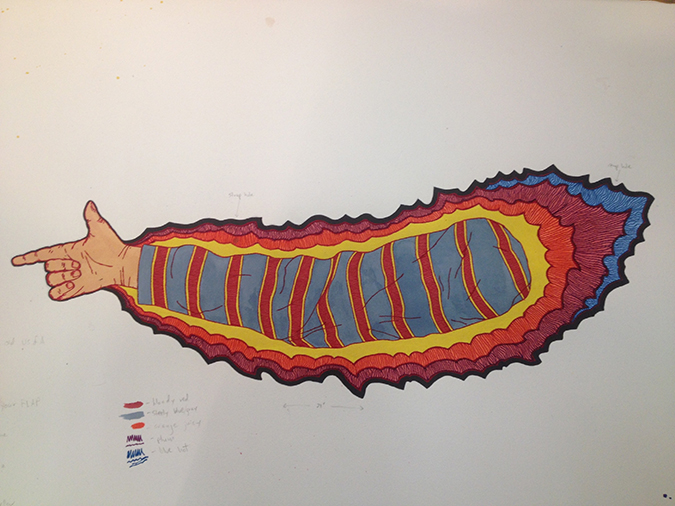

Working on Fiery Arms #4 (Bigger=compensation?) in the studio. See the progression:
(Click on image to enlarge)
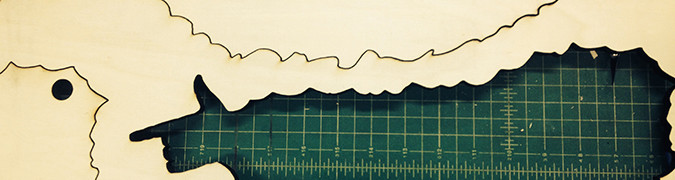
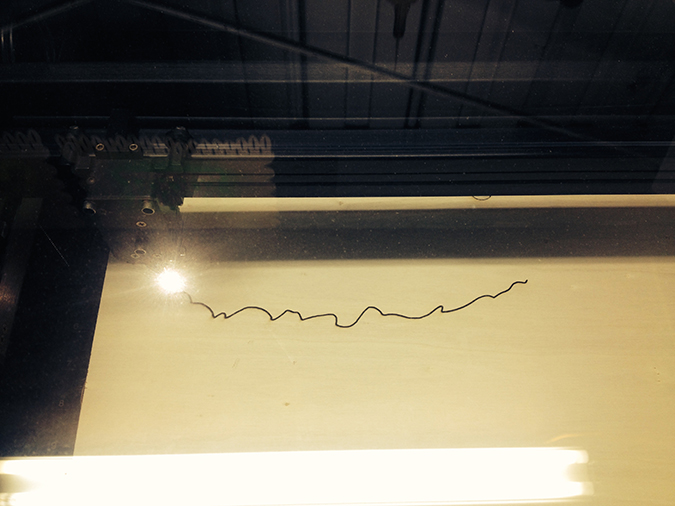
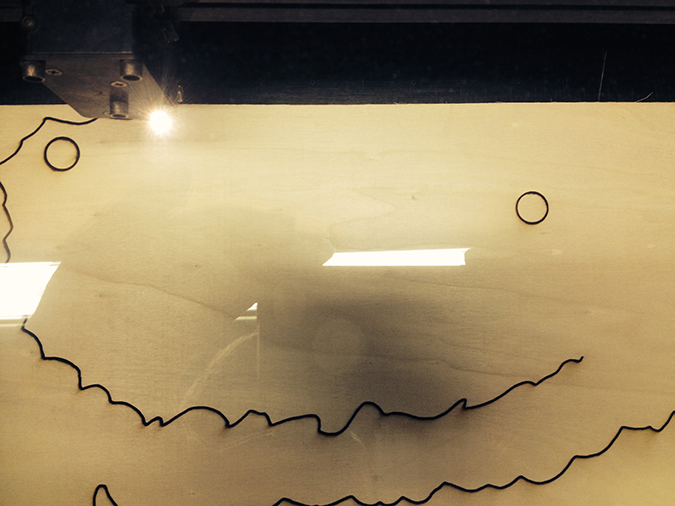
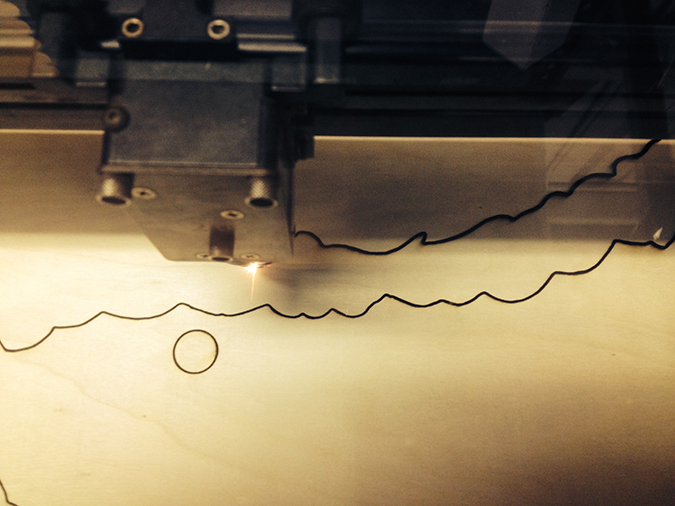
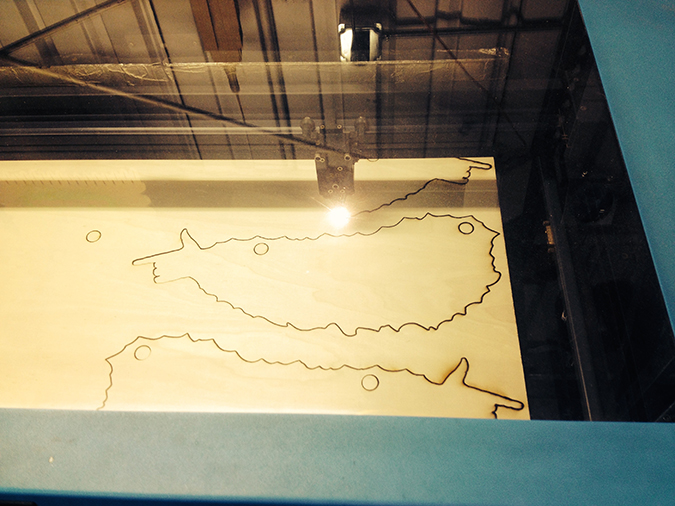
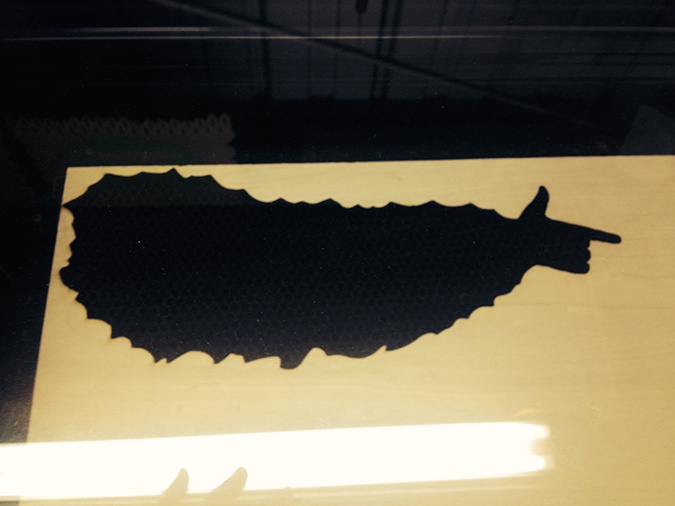
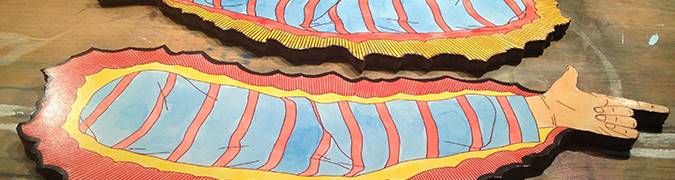
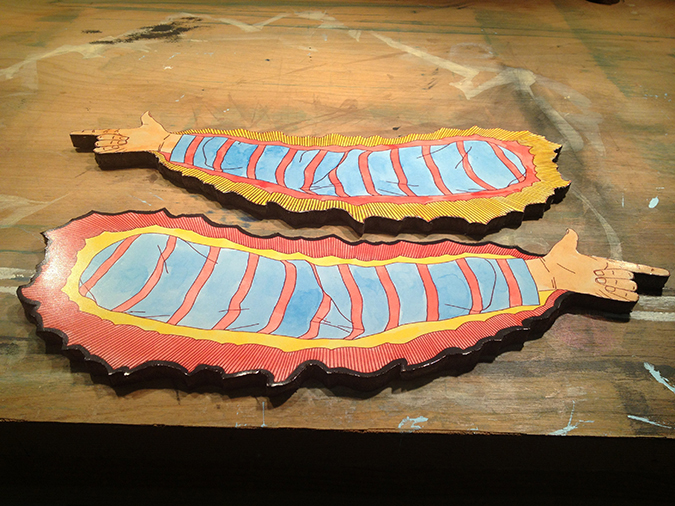
Laser cutting 1/2″ plywood for “Fiery Arm Sub-Prop” sculptures at Pagoda Arts in SF:

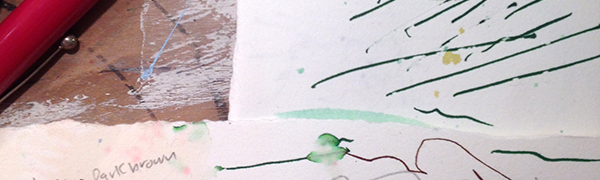
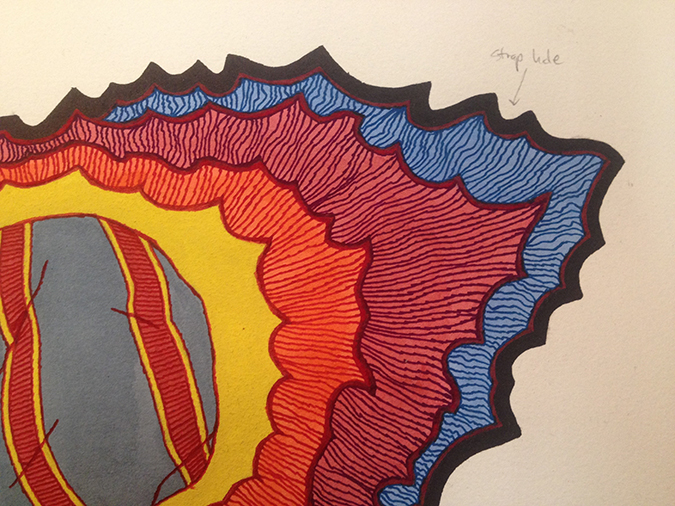
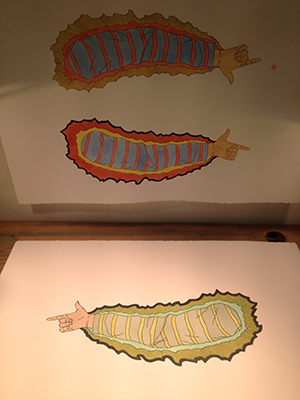
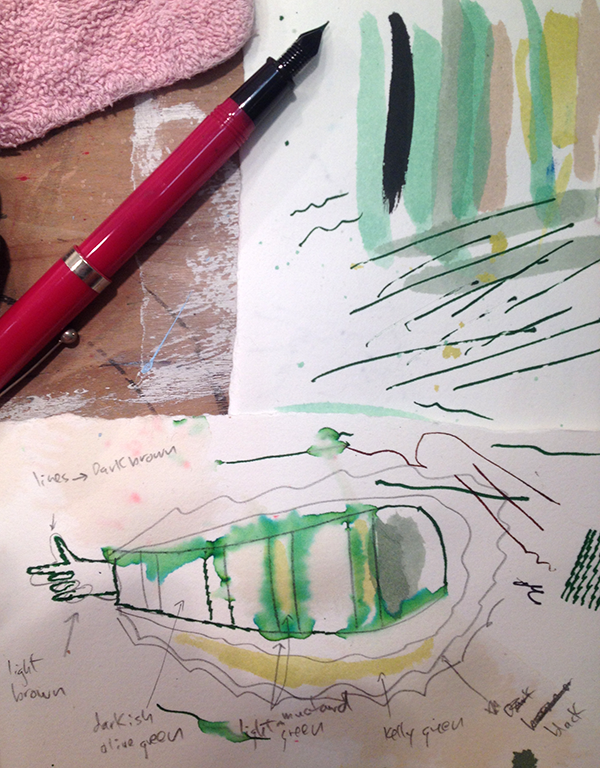
In-progress studio shots of the new Camo-Color Fiery Arm drawing (click to enlarge):

FLAP (Fiery League of Arms Partnership) will begin recruiting soon…
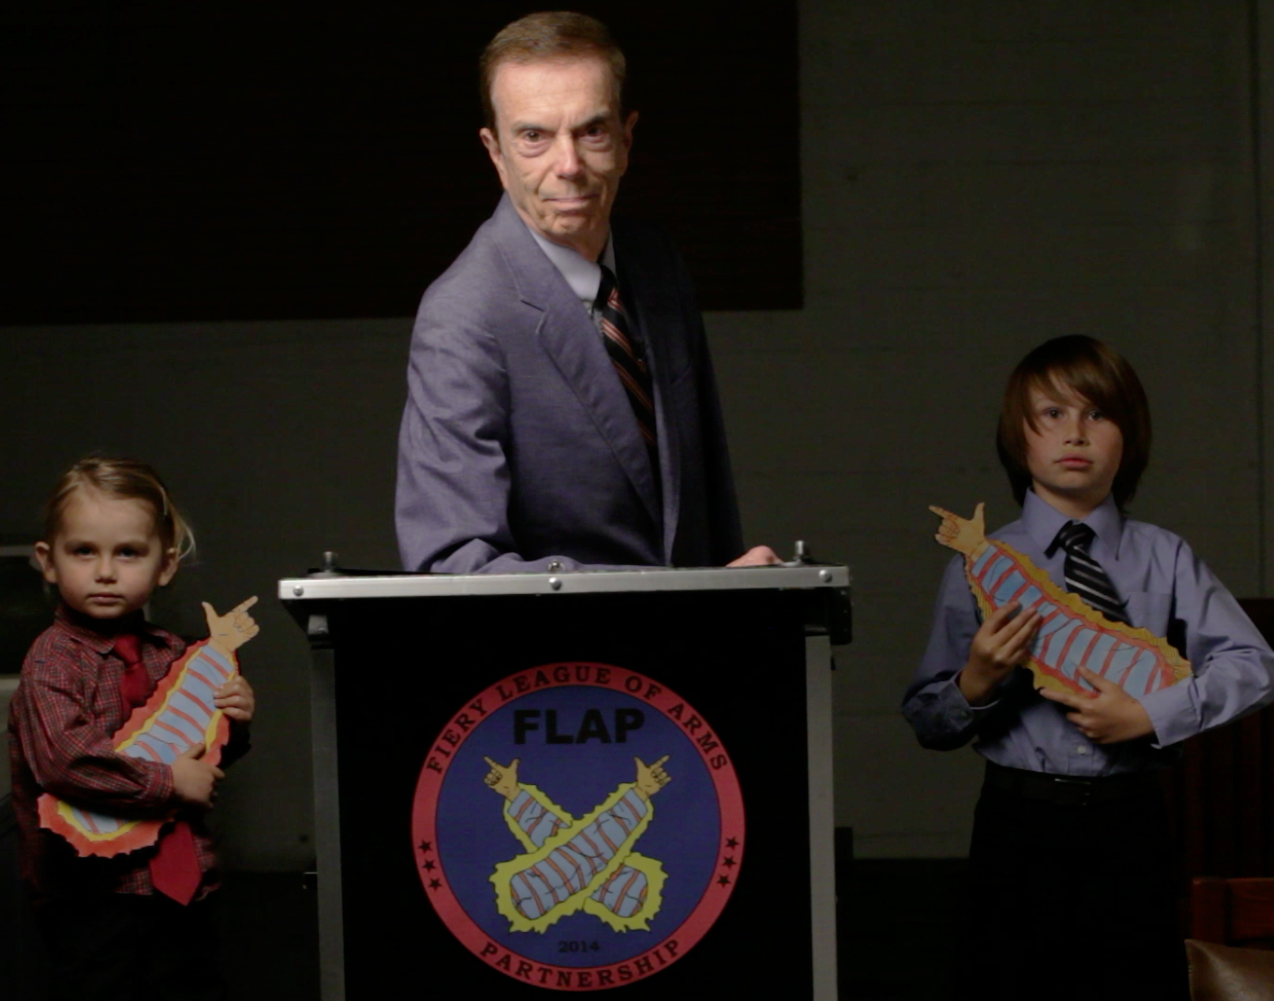
The Fiery League of Arms Partnership (FLAP) is finally coming together! Coming soon (April/May) to Kickstarter.com…

 Steps:
1) Create drawing called Defunct Artifact #5 using ink on paper.
2) Leave on edge of desk, near walkway and microwave.
3) Studiomate will accidentally spill coffee on drawing.
4) Take drawing home and tack on the wall above the toilet and next to shower for a few months. Wait for the drawing to get messed up even more (2 small boys frolicking in bathroom helps).
5) Bring drawing back to studio and trace it.
6) Transfer trace image to same size/type paper as original drawing.
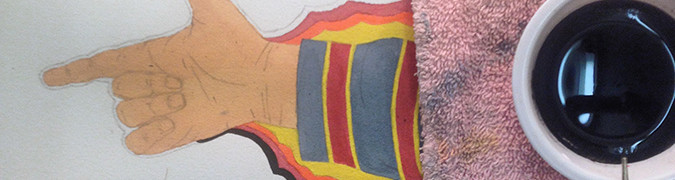
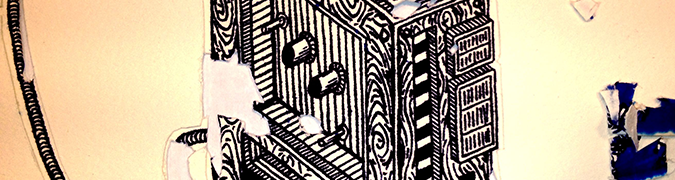
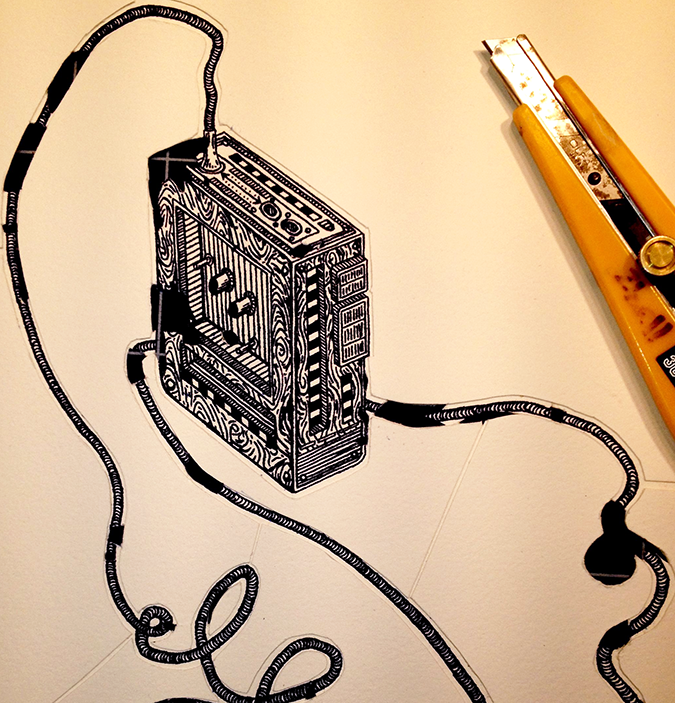
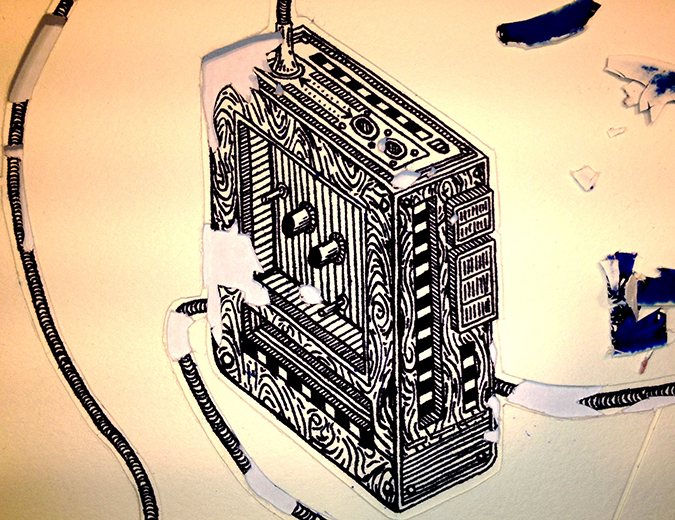
7) Cut out trace image and take the pieces surrounding image (like jigsaw puzzle pieces) and carefully glue them onto original messed up drawing around contours of image (the first photo with knife demonstrates the results of this step).
8) Take knife and cut out parts of image that were smeared by coffee/bathroom frolicking. At this point all coffee stains and smear marks should be gone and you are left with a collage-drawing with holes in it (click on any image to see full size).
9) Take pictures with iPhone app called TurboScan and post to blawg with a list of steps taken thus far.
10) Write in blawg that you will update later with next steps for finishing drawing.
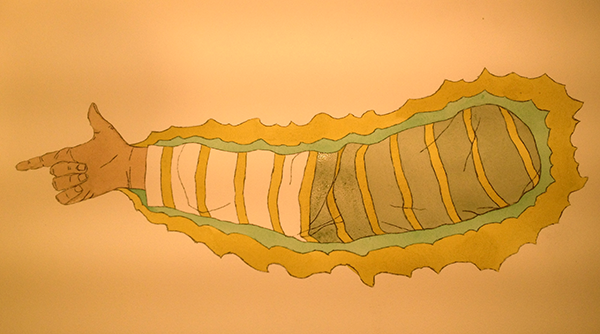
Update #1:
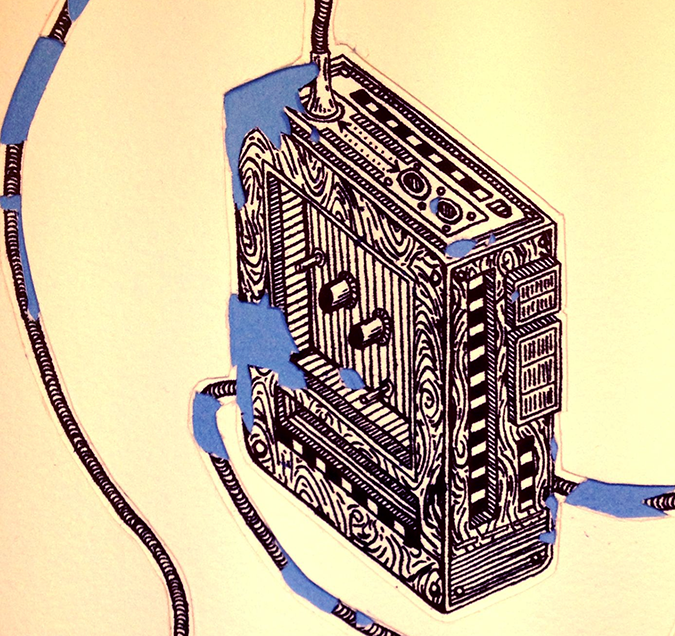
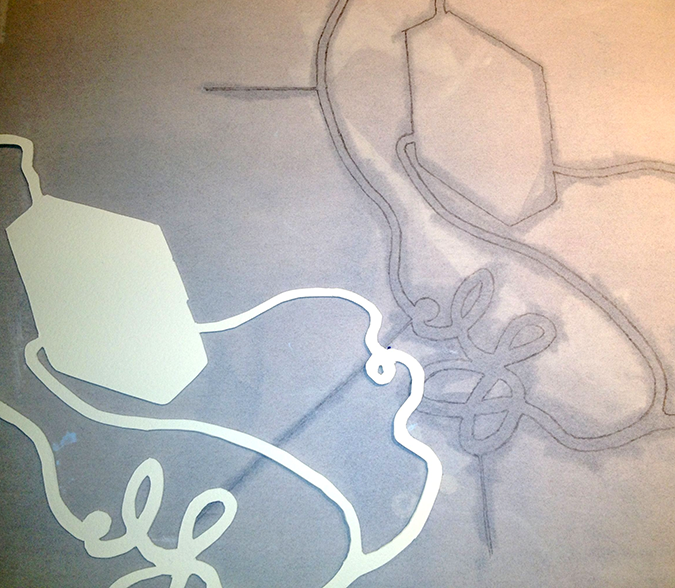
11) Stain sheet of blank paper a royal blue, then cut and paste behind holes.
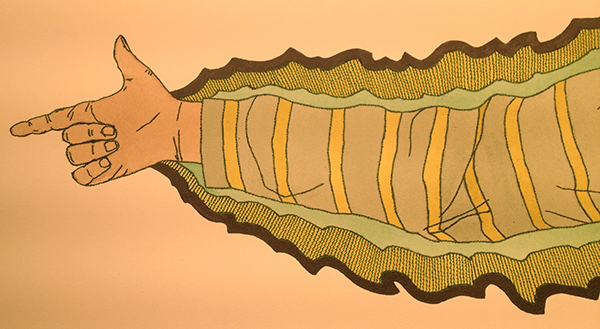
Update #2:
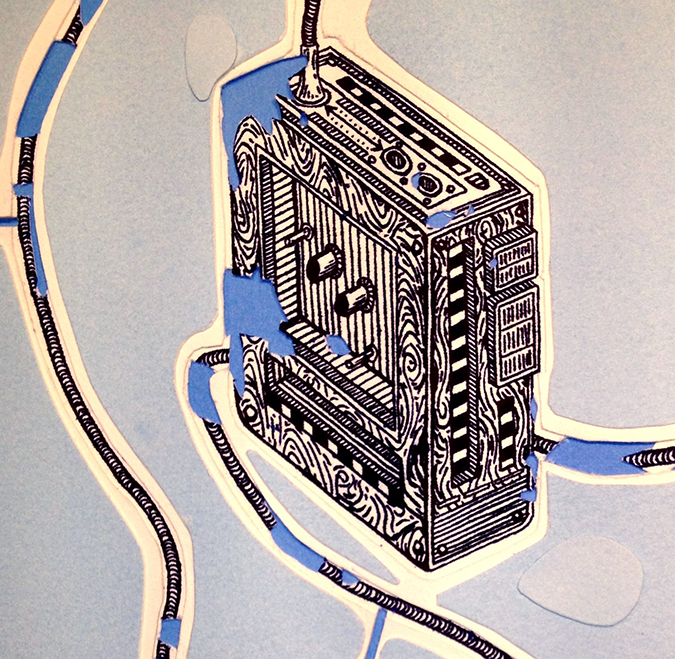
12) Stain sheet of blank paper a light, baby blue and trace on original image using tracing paper from step #6.
13) Just like step #7, cut out trace image on baby blue paper and take the pieces surrounding image and glue them onto original messed up drawing around contours of central image.
14) Shape edges of paper to fit contours of glued pieces and glue small pieces of baby blue paper onto baby blue areas where the color was damaged from gluing in last step.
15) Cut out a few last spots and put royal blue underneath. Put layers of matte medium on back to seal pieces.
16) Write title and sign on back. Pin up on wall and observe. Done.

All content by Trevor Tubelle and licensed under a Creative Commons Attribution-NonCommercial-NoDerivs 3.0 United States License. This means that you may share Trevor's work as long as you attribute it to him, don't profit from it commercially, and don't alter it (unless you get permission from him).
Recent Comments